 USD
USD CAD
CADbath
How To Install A Rain Shower Head

Oct
Ever experienced the joy of bathing under rainfall or a waterfall? Well, that is precisely what rain showerheads are here to accomplish. When properly installed, they can give you a gentle wash from above by conferring your whole body like a cascading waterfall. Not only that, but they also give your bathroom an excellent value. They’re also pretty simple to install and won’t force you to break the bank. You can also get a showerhead with a good and reliable shower panel that has different spray features, including that of rainfall.
If you’re all-in about getting a rainfall showerhead for your bathroom and to do it on your own and save on labor costs, then use these steps given below:
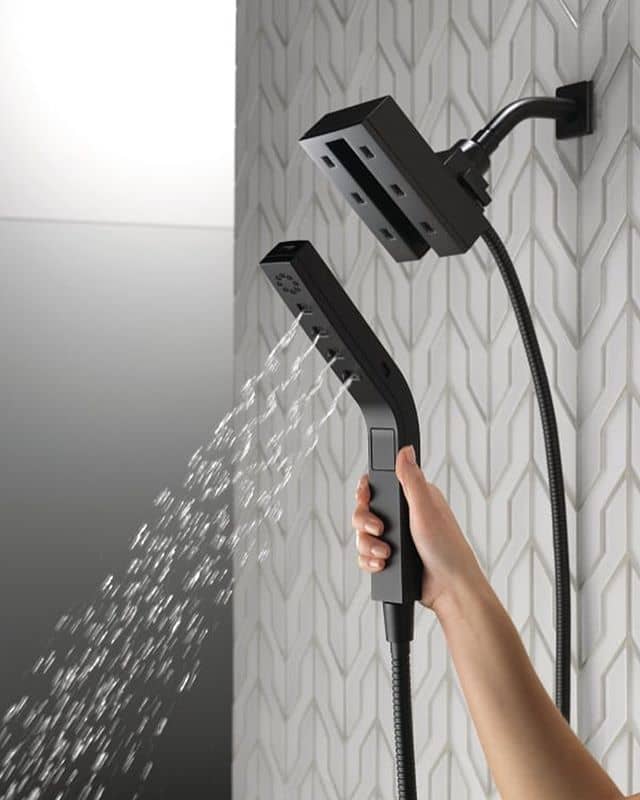
1. Pick the Most Appropriate Showerhead
Prior to choosing a showerhead, there are a couple of things that you need to take into account. For one thing, the length of the shower arm depends on the size of the shower stall or tub. Showerheads are 7 inches long for most tubs whereas arms are 10 inches or perhaps even longer for overhead installations. Also, bear in mind that the showerhead must not fall too below the height of the wall.
2. Have All the Necessary Items Ready
You need to have all the essential items and proper tools at hand before you can start installing your rain showerhead. Please ensure that none of the shower’s assembly items are missing and be sure to place a rag over your drain to keep any unwanted pieces from falling in. Also, check that the arm’s height and length aren’t too low for the showerhead.
3. Get Rid of the Old Showerhead
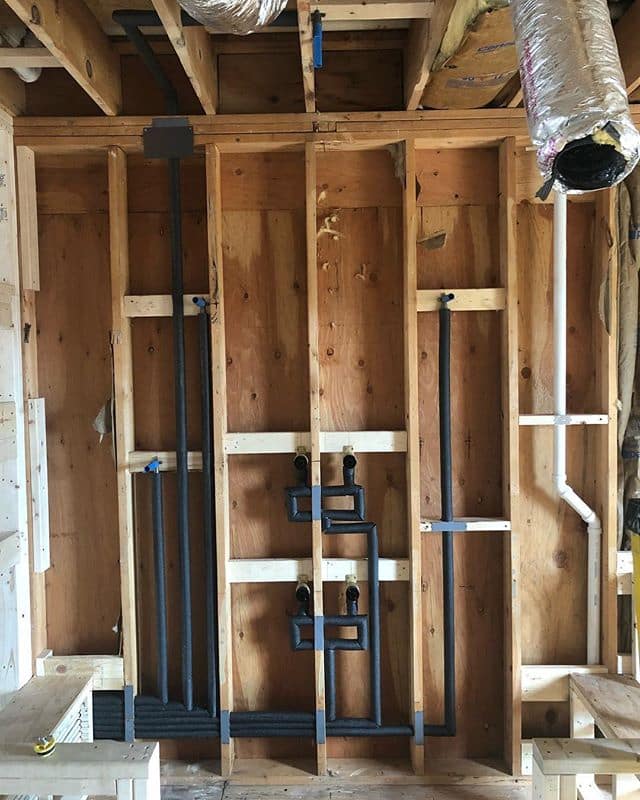
When you have all the tools and items accounted for, start uninstalling the old showerhead. You’ll need to use the right wrench or pliers to loosen the showerhead from the arm. Put a rag on your pliers to keep it from scratching. If you find that the shower arm is indeed too low and you’re installing an extension arm, make sure to remove everything that is connected to the wall outlet.
4. Use a Plumber’s Tape
After removing the old showerhead, use a plumber’s tape and wrap a layer of it around the new head’s threads. Make sure that the tape is wrapped around the length of the threads. If you do this right, it will completely prevent water from escaping from the side of the showerhead. The tape also maintains a steady water pressure.
5. Time to Install
Use a wrench or pliers to tighten the new showerhead into place. But if your showerhead has a polished finish, then don’t use pliers as they could scratch it. You can screw the showerhead with your hands to prevent any unnecessary damage. And before you move to the next step, ensure that the threads are all lined up and that everything else is good and tight.
6. Begin Cleanup
Once your new showerhead is in place, remove any tools in the tub and the rag from the drain. You may use the box that your new showerhead came with and have it hold all of the old pieces in it. It’s a good idea to keep it on the side of you ever want to install it in another bathroom or if the rainfall showerhead doesn’t work or doesn’t meet your desired expectations.
7. Test it Out
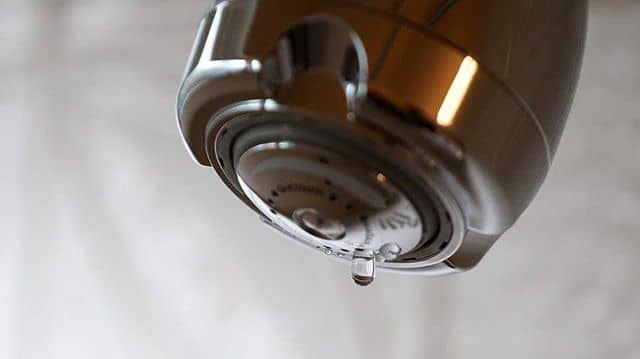
Upon clearing everything up, give your new showerhead a test run to make sure there are no leaks and that the head is on real tight. Also, ensure that the plumber’s tape is correctly installed and that you can see some of it sticking out from your showerhead even after tightening it. You should also check the arm connections and the wall outlet for any possible leaks.