Shower panel
Shower Panel Installation Guide: What to Know Before the Box Arrives
Oct
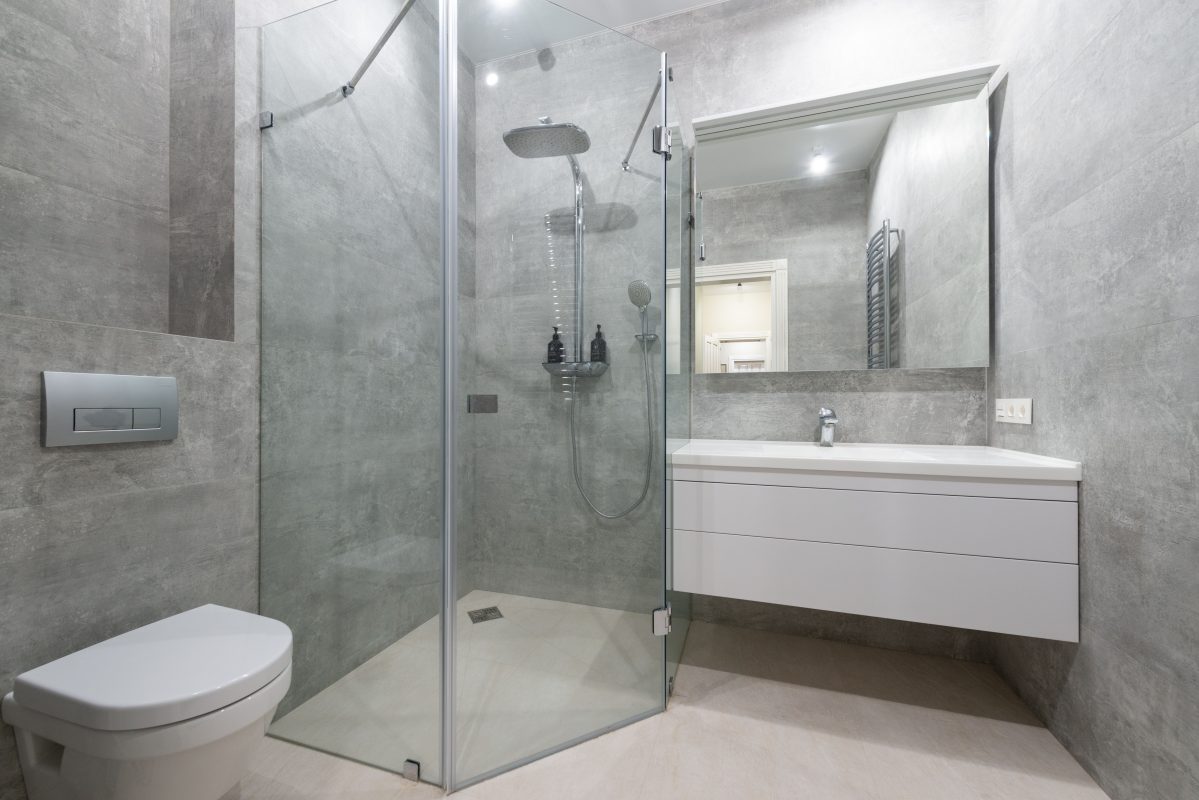
A shower panel looks like the simplest bathroom upgrade on earth: a tall stainless column that hangs on the wall, connects to your existing hot and cold lines, and suddenly you have rainfall, body jets, and a handheld wand. And honestly, for most homes, it nearly is that simple. But the difference between a Saturday-morning success and a dripping, wobbly regret comes down to what you check before the box arrives. This guide walks through the whole job the way a good plumber would — wall, water, tools, mounting, and the mistakes that cause most callbacks.
What a shower panel actually needs from your bathroom
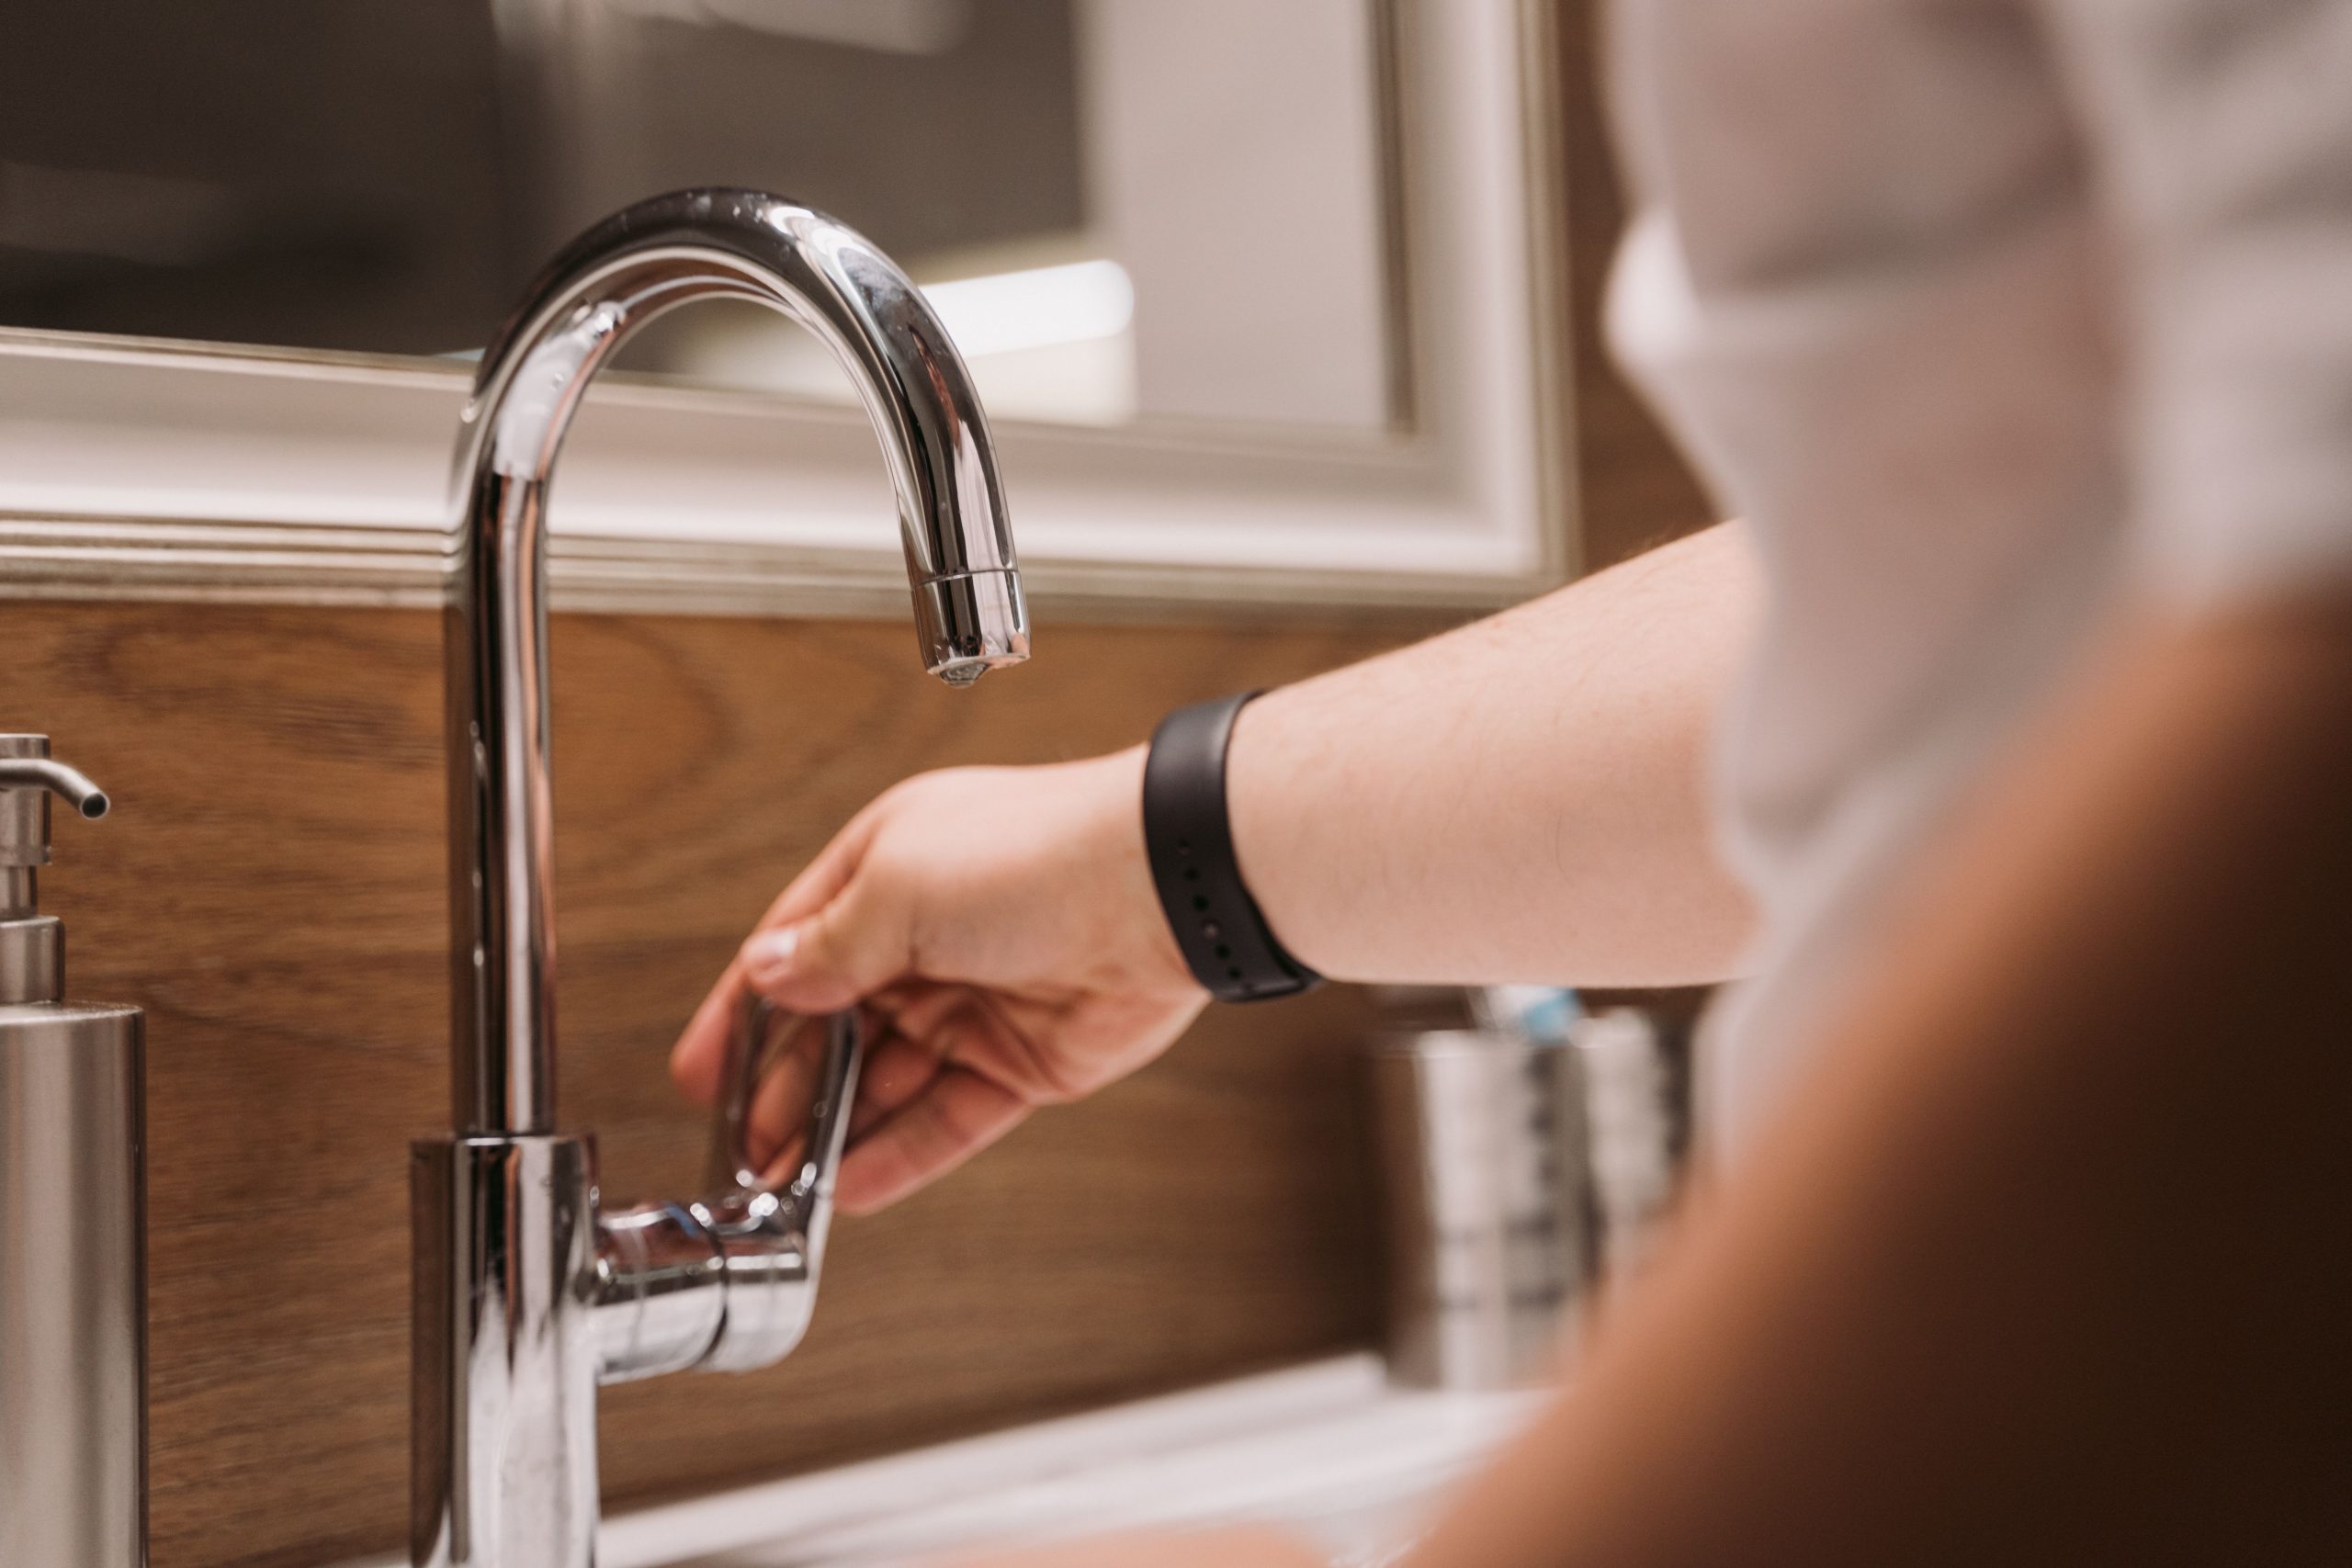
Unlike a traditional shower valve, a panel is surface-mounted. It does not need a roughed-in valve body inside the wall, which is exactly why it is such a popular retrofit. What it does need is three things: a flat, solid wall section roughly 9 inches wide and 62 inches tall; hot and cold supply lines that terminate near where the panel’s inlets sit (usually at the bottom rear of the unit); and a standard 1/2-inch threaded connection. If your bathroom already has a tub spout or an old shower arm on that wall, the supplies are almost certainly right there behind the tile.
Wall strength matters more than most people expect. A stainless panel plus water in the lines weighs real pounds, and it gets grabbed, leaned on, and bumped for years. Tile over cement board or plywood backing is ideal. If the mounting area is plain drywall, plan to open a small section and add blocking between the studs — a 2×6 screwed horizontally between studs at two heights gives the mounting screws something honest to bite into. When you are choosing the right shower panel, check the manufacturer’s mounting bracket layout first, because the bracket positions decide exactly where that blocking needs to go.
Tools and parts to have on hand
You do not need a plumber’s truck, but you do need more than a screwdriver. Lay out: an adjustable wrench and a set of open-end wrenches, Teflon (PTFE) thread-seal tape, a tube of 100% silicone sealant, a 4-foot level, a stud finder, a drill with masonry/tile bits if you are going through tile, stainless screws and wall anchors rated for wet areas, and a bucket plus old towels. The single most-forgotten item is thread-seal tape — every threaded water connection on the panel needs several wraps, applied clockwise as you face the thread, or you will be disassembling a weeping joint the same afternoon.
Also confirm the panel’s inlet configuration before you start. Most units bring hot and cold in at the bottom through flexible braided connectors or rigid nipples. If your supplies stub out of the wall at a different height, pick up a pair of stainless flexible supply lines in the right length rather than forcing rigid pipe into alignment. Forced alignment is how cross-threading happens, and a cross-threaded brass fitting inside a wall is a genuinely bad afternoon. A quick look at how to install a rain shower head is useful background too, since the overhead arm on many panels threads on the same way.
The installation, step by step
Start by shutting off water to the bathroom — ideally at local shutoff valves, otherwise at the house main — and open the old taps to drain the lines. Remove the old shower arm, spout, or trim, and cap or plug anything you are not reusing. Hold the panel’s mounting bracket against the wall at the planned height, check it with the level (panels telegraph even a slight tilt across 62 inches), and mark your holes. Drill, set anchors, and fasten the bracket solidly; give it a hard tug — if it moves at all, fix it now, not after the panel is hanging on it.
Next, make the water connections with the panel still off the bracket if the design allows it; it is far easier to wrap threads and snug fittings with the unit at waist height on a padded surface. Connect hot to hot and cold to cold — panels are usually marked, and mixing them up means your temperature dial works backwards, which is embarrassing to discover mid-shower. Hang the panel on the bracket, connect the handheld wand hose, and hand-tighten the overhead shower arm. Then turn the water back on slowly with the panel’s valves open, and walk every joint with a dry fingertip and a flashlight. A joint that is merely damp at full pressure will become a drip by February.
The mistakes that cause most callbacks
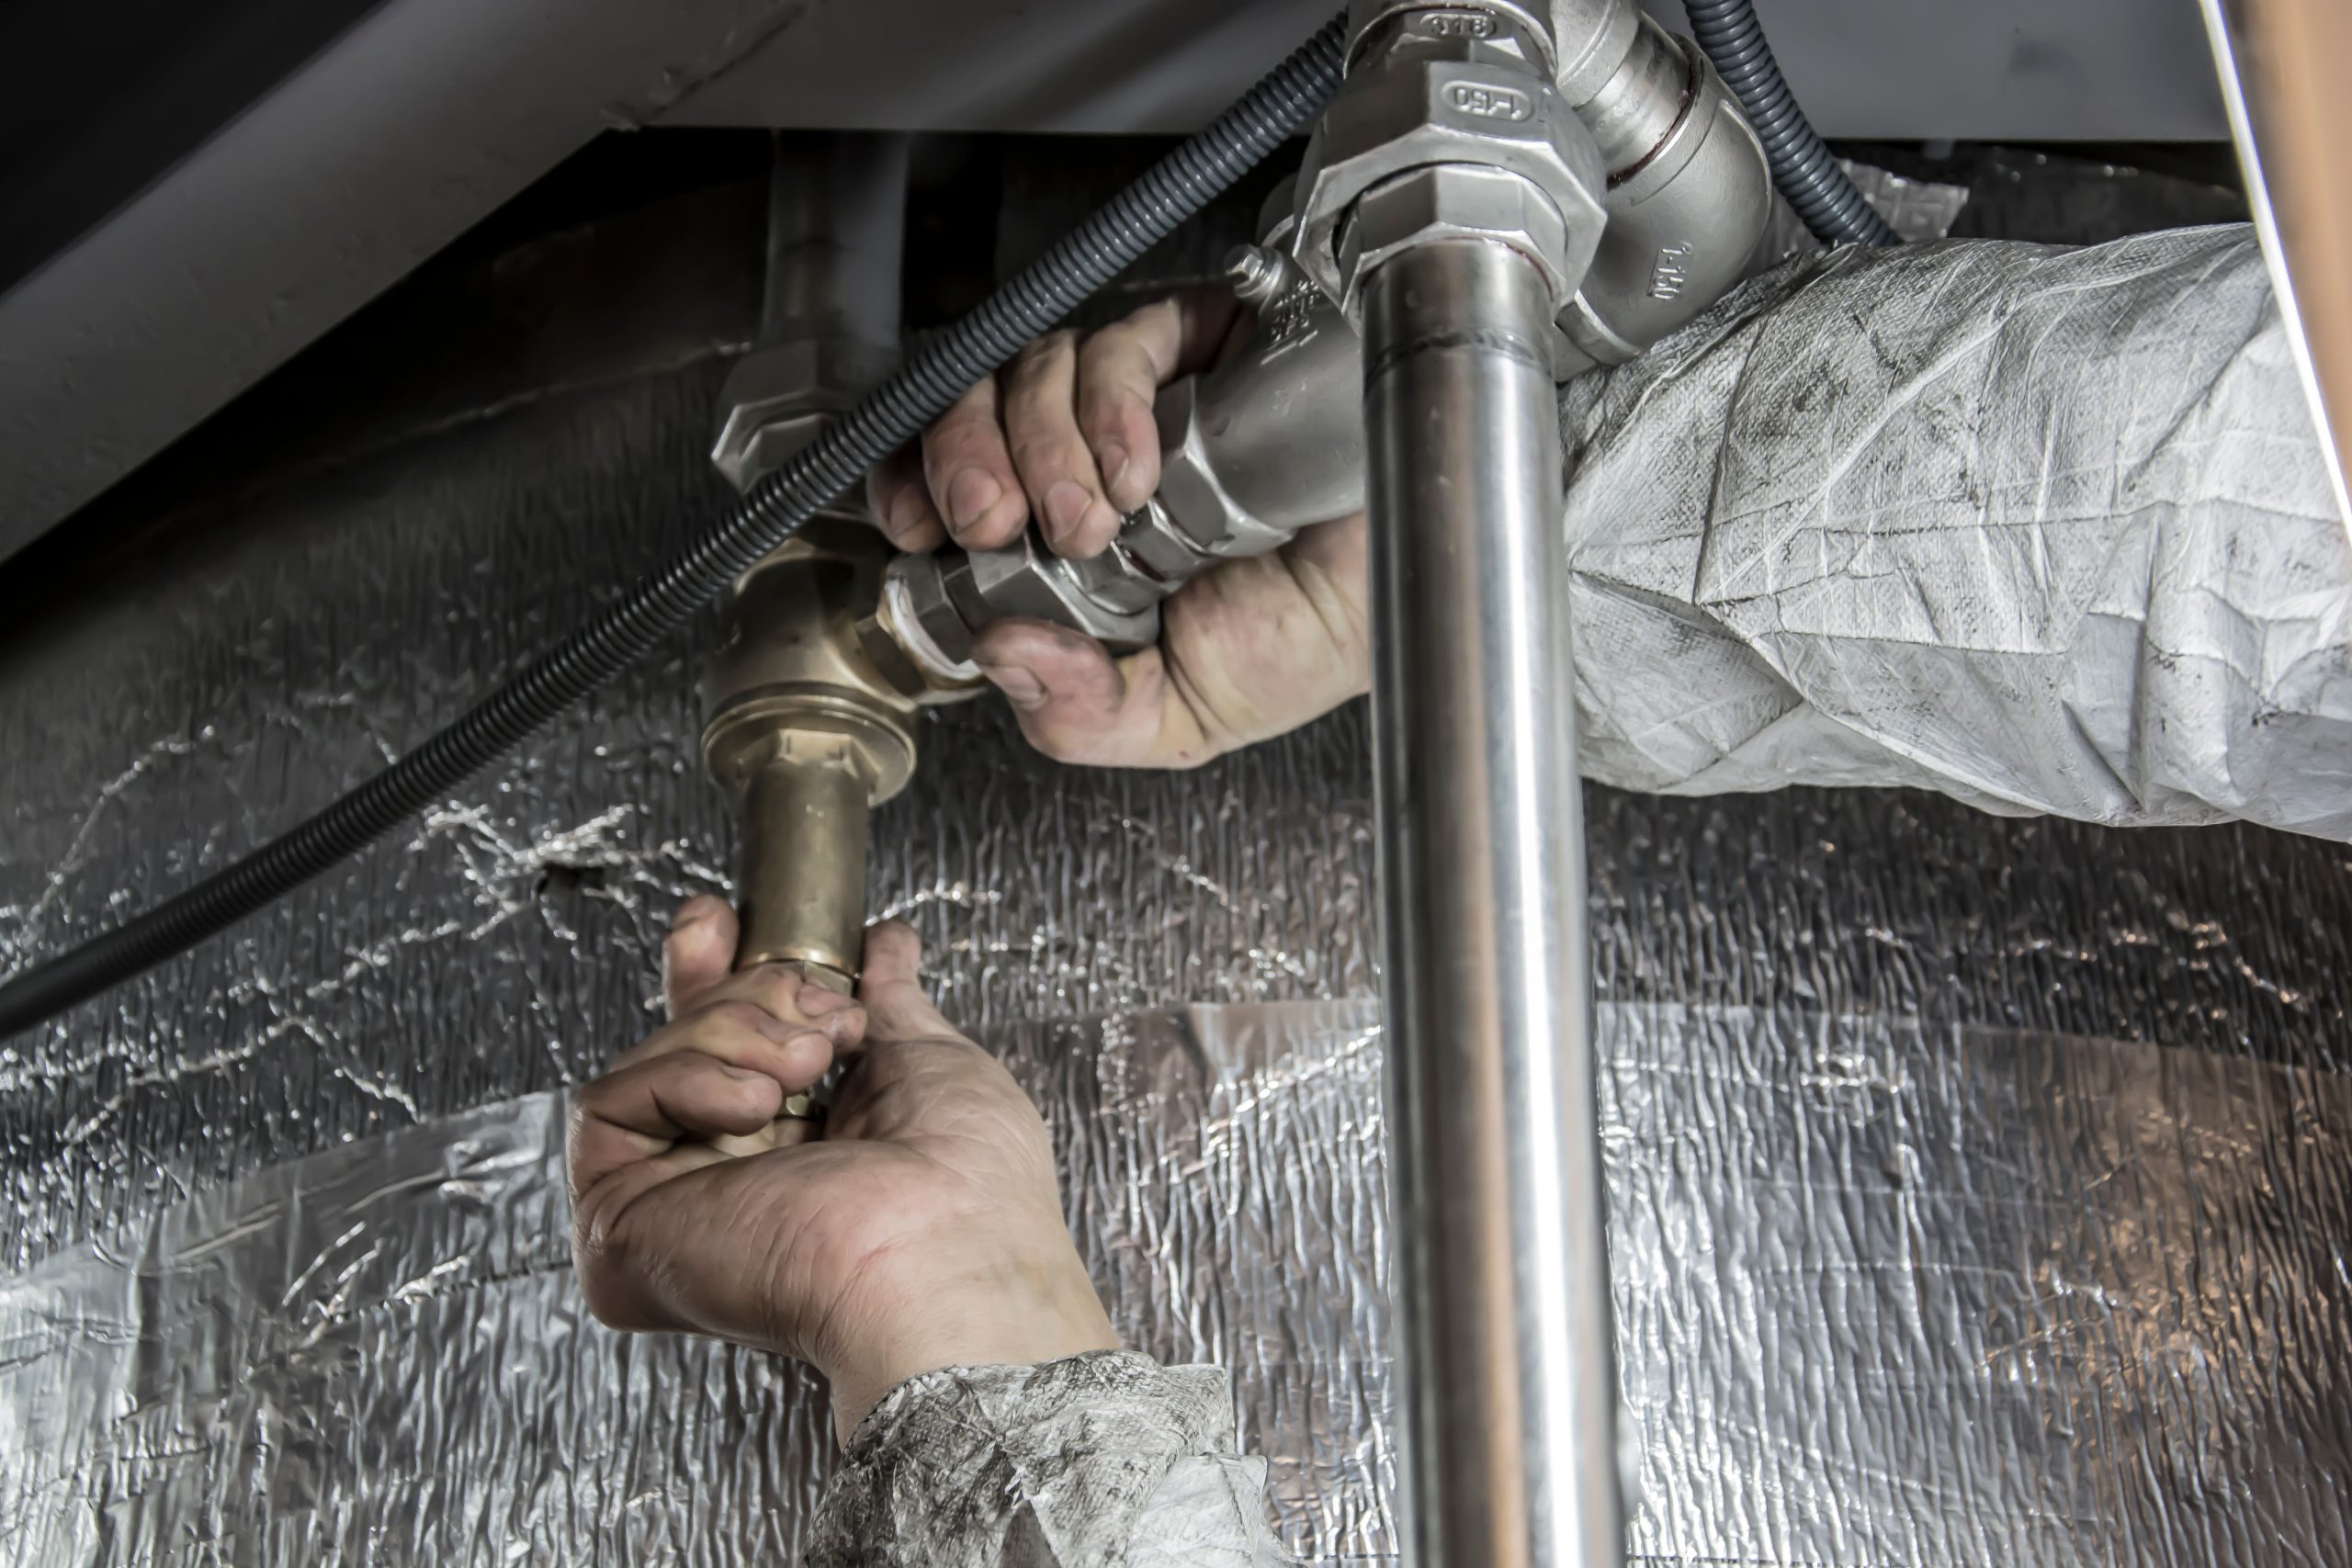
Ask plumbers what goes wrong with panel installs and the same short list comes up. Number one is skipping the level check — a panel that leans even half a degree looks broken and can make the waterfall outlet pour unevenly. Number two is under-tightening out of fear: brass fittings need to be snug, and Teflon tape is not a substitute for proper torque. Number three is sealing the panel’s top edge to the wall with silicone while leaving the bottom open; water that gets behind the unit needs a way out, so seal the top and sides and leave the bottom edge free to drain. Number four is forgetting to flush the lines: run water through the open supplies into a bucket for a few seconds before connecting the panel, or construction grit ends up lodged in the jet nozzles on day one. Most of these show up in guides to troubleshooting common shower panel issues, and every one of them is cheaper to prevent than to fix.
When to call a plumber (and what it should cost)
A panel install is firmly DIY-able when the supplies are already in the wall and the wall is solid. Call a professional when the supplies need relocating, when you are cutting into tile and do not own the right bits, when the house has galvanized or polybutylene plumbing that crumbles if you look at it, or when local code requires a permit for fixture changes. A straightforward panel swap by a licensed plumber typically runs a few hundred dollars in labor in most North American markets — well worth it if the alternative is a slow leak inside a wall you cannot see. If you are folding the panel into a bigger refresh, our bathroom remodeling tips will help you sequence the work so the panel goes in after tile and before the final silicone.
A shower panel earns its keep the first morning you use it, and a careful install is what makes it feel like it was always there. Take the extra hour on wall prep and leak checks, keep the space feeling intentional with a few warm and welcoming bathroom touches around it, and consider how the slim footprint plays in compact bathrooms where every inch matters. Do the boring parts right, and the fun parts — rainfall, jets, all of it — take care of themselves.