Range Hood
Under-Cabinet Range Hoods: The Space-Saving Workhorse for Small Kitchens
Nov
Not every kitchen has room for a statement chimney hood — and not every kitchen needs one. If your stove sits beneath a wall cabinet, the humble under-cabinet range hood may be the smartest ventilation choice you can make. It tucks neatly out of sight, costs less than its showier cousins, and clears smoke, steam, and cooking odors just as effectively when sized and installed correctly.
With more homeowners cooking at home and refreshing compact kitchens ahead of the holiday season, under-cabinet hoods are having a quiet moment in 2026 kitchen trends: practical, affordable, and nearly invisible. Here is how to choose one, install it right, and keep it working for years.
What exactly is an under-cabinet range hood?
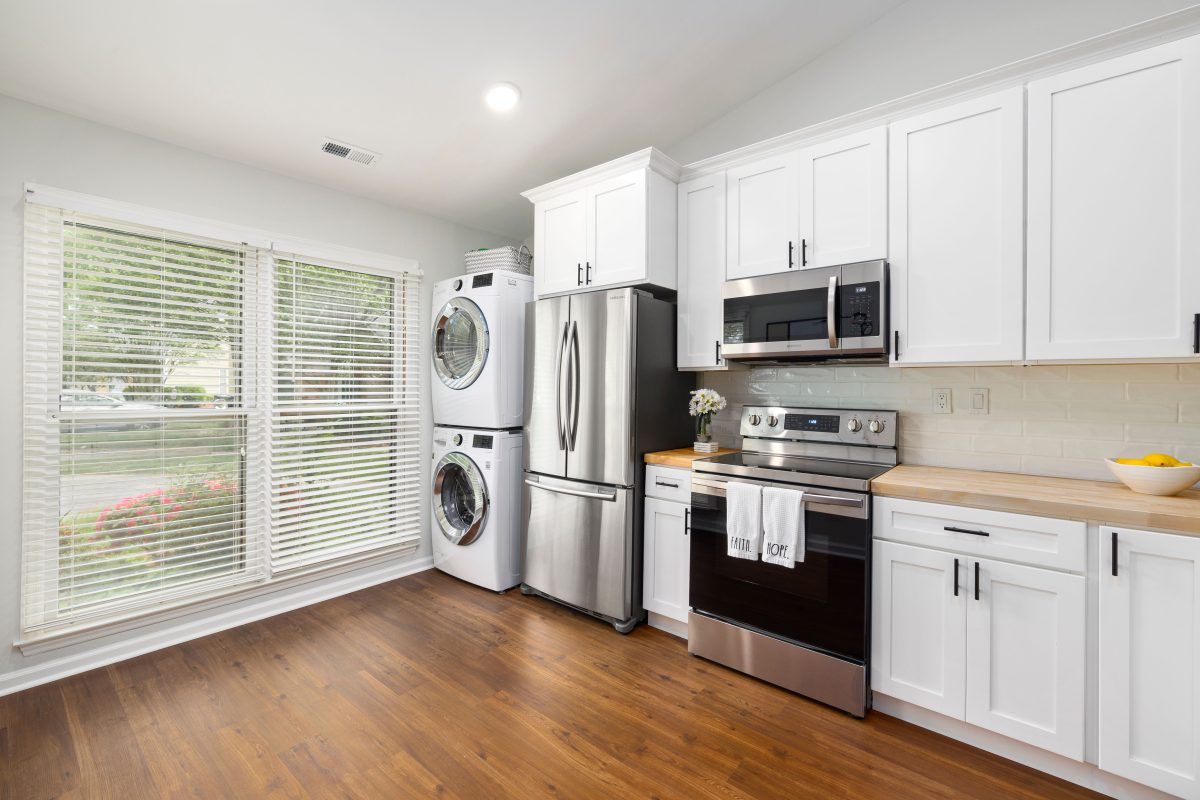
An under-cabinet range hood mounts to the underside of a wall cabinet directly above your cooktop, capturing cooking fumes at the source before they spread through the house. Unlike a wall-mount chimney hood that becomes a visual centerpiece, the under-cabinet style hides most of its body inside or beneath the cabinetry — you see only a slim stainless or powder-coated strip with the controls and lights.
These hoods come in two airflow configurations: ducted, which vents air outside through ductwork, and ductless, which filters air through charcoal filters and recirculates it back into the kitchen. If you are weighing those options, our guide to ducted vs. ductless range hoods walks through the trade-offs in detail.
Why small kitchens love them
The biggest advantage is space. An under-cabinet hood adds zero visual bulk and consumes no extra wall or ceiling area — the cabinet above the stove was already there. In galley kitchens, apartments, and condos where every inch counts, that matters. The same small-space thinking that drives design ideas for compact bathrooms applies here: choose fixtures that disappear into the architecture instead of fighting it.
Cost is the second win. Under-cabinet models are typically the most affordable hood category, with solid performers starting well under the price of a basic chimney hood. Installation is simpler too, since the cabinet provides a ready-made mounting surface and often conceals the ductwork or power connection.

Sizing: width and power basics
Width is simple: match the hood to your cooktop width — 30 inches for a standard 30-inch range. A hood narrower than the cooktop leaves the front burners uncovered, letting grease and smoke escape around the edges. When in doubt, going slightly wider is better than slightly narrower.
Power is measured in CFM (cubic feet per minute). For most home cooking on an electric or modest gas cooktop, 250–400 CFM is plenty. Heavy wok cooking, high-BTU gas ranges, or frequent searing push you toward 400–600 CFM. Oversizing has a downside: very powerful hoods can create negative pressure issues and may trigger make-up air requirements in some building codes, so size for your actual cooking rather than buying the biggest blower available.
Installation essentials
Mounting height matters as much as the hood itself. Most manufacturers recommend 24–30 inches above an electric cooktop and 27–36 inches above gas — always check your specific model’s manual and local code, since gas ranges and high-output burners demand more clearance. Too low and you risk heat damage or fire; too high and capture efficiency drops sharply.
If you are ducting outside, keep the duct run short and straight with rigid metal ducting, and vent through the wall or roof — never into an attic or wall cavity. If ducting is not feasible, a ductless setup with quality charcoal filters is a legitimate fallback, especially in condos where exterior venting is prohibited.
Cleaning and filter care
Under-cabinet hoods use either mesh or baffle grease filters. Mesh filters are lightweight aluminum screens that trap grease; baffle filters use curved metal channels that are more durable and often dishwasher-safe. Whichever type you have, clean or degrease them every 1–3 months depending on how much you cook — a clogged filter is the number one reason a hood seems to “stop working.”
Most metal filters can go straight in the dishwasher or soak in hot water with dish soap and baking soda. While you are at it, wipe down the hood’s underside and the surrounding cabinet bottom, where a thin film of grease loves to collect unnoticed. Pair this routine with water-saving habits elsewhere in the house and your whole home runs leaner.
Choosing the right model
When comparing models, look beyond CFM. Check the sone rating (a measure of perceived loudness — under 4 sones on high is comfortable for open-concept spaces), the number of fan speeds, and whether the lighting is LED. Dishwasher-safe filters save real maintenance time, and a filter-cleaning reminder light is a small feature you will appreciate monthly.
Finish matters too. Stainless steel remains the most popular and the easiest to coordinate — and if you are updating the whole kitchen, think about how the hood pairs with the rest of your fixtures, from choosing the right kitchen sink to the faucet finish. A cohesive look makes even a budget kitchen feel designed.
The bottom line
An under-cabinet range hood will never be the star of a kitchen showroom, but it might be the hardest-working appliance in a small kitchen. Size it to your cooktop, mount it at the right height, clean the filters on schedule, and it will quietly keep your air clear for a decade or more. And if your renovation ambitions extend beyond the kitchen, carry the same practical mindset into the bath — even small upgrades, like the ideas in our guide to a warm and welcoming bathroom, or choosing eco-friendly fixtures, pay off in daily comfort.